How to Make a Passport Size Photo Online
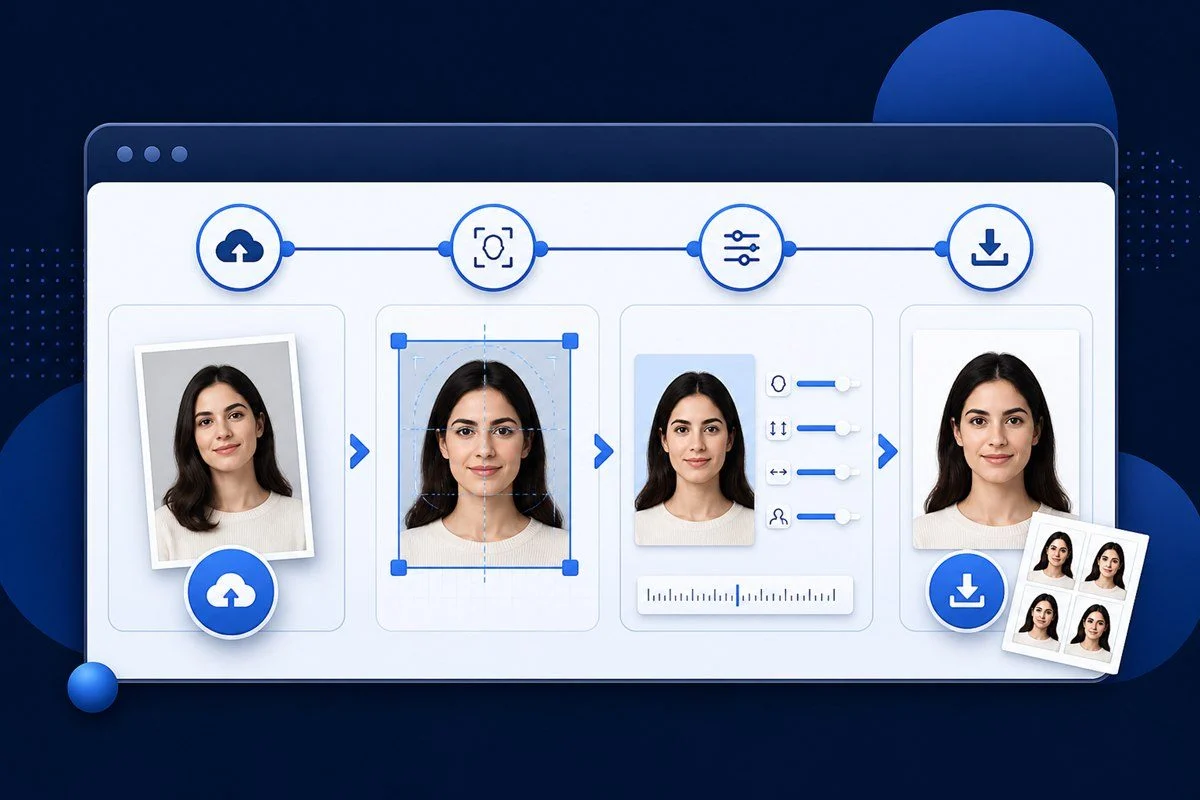
To make a passport-size photo online, first check the exact requirements for your application, then upload a clear portrait, choose the required dimensions, crop and position the image, select the output format and download the finished file.
You can do all of these steps with the free Passport Size Photo Maker.
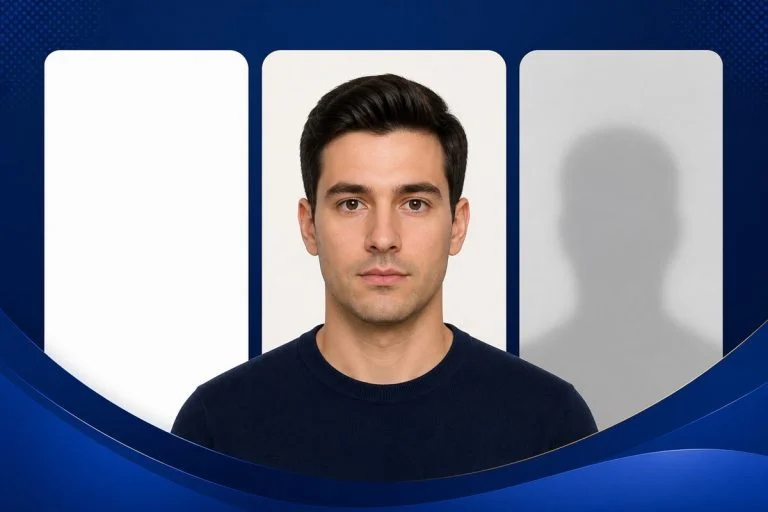
The most important rule is simple: do not assume that every passport-size photo uses the same dimensions or background. Use the specification given by the authority, form or application you are preparing.
1. Check the Required Photo Size First
Before editing the image, find the exact photo requirements.
Look for:
- width
- height
- unit, such as mm, cm, inches or pixels
- file format
- maximum or minimum KB
- background requirement
- head-position or facial rules
- whether the image is for digital upload or physical printing
A commonly used portrait format is:
35 × 45 mm
but this is not a universal standard.
Your application might instead require:
- 35 × 50 mm
- 45 × 55 mm
- 2 × 2 inches
- a specific width and height in pixels
- another custom format
If you need help converting measurements, see the Passport Size Photo Size Guide.
2. Take or Choose a Clear Photo
Start with the best original image you can.
A good source photo should ideally be:
- sharp
- well lit
- taken from the front
- large enough to crop
- free from heavy shadows
- taken against a simple background
- centred around the head and shoulders
Try to avoid images that are:
- blurred
- heavily compressed
- taken from far away
- strongly tilted
- cropped too tightly around the face
- covered by filters or beauty effects
A photo editor can resize and crop an image, but it cannot restore detail that was never present in the original.
3. Upload the Photo
Open the Passport Size Photo Maker and choose your image.
The current tool accepts:
- JPG / JPEG
- PNG
- WebP
You can browse for the file or drag and drop it into the upload area on supported devices.
The custom editing logic works in your browser, so the photo does not need to be uploaded to our server in order to crop, resize and create the finished image.
4. Choose the Correct Dimensions
After uploading the image, select a common preset or enter a custom size.
The tool currently includes common formats such as:
- 35 × 45 mm
- 35 × 50 mm
- 45 × 55 mm
- 51 × 51 mm
These presets are provided for convenience. They are not a guarantee that the selected size is correct for your document.
If your form gives exact measurements, use Custom size.
You can enter dimensions in:
- millimetres
- centimetres
- inches
- pixels
5. Choose the DPI When Converting a Physical Size
If your requirement is given in mm, cm or inches, the tool uses DPI to calculate the output pixels.
For example:
35 × 45 mm at 300 DPI ≈ 413 × 531 pixels
The available DPI options are:
- 72
- 150
- 300
- 600
For many printing workflows, 300 DPI is a common working resolution.
However, if your application gives an exact pixel size, use those pixels directly rather than converting from a physical measurement.
For more examples, see Passport Size Photo Size in Pixels.
6. Crop the Photo to the Correct Shape
The crop frame automatically follows the aspect ratio of the dimensions you choose.
For example:
35 × 45 mm
has a ratio of:
7:9
A square format such as 2 × 2 inches uses:
1:1
Drag the photo until the subject is positioned correctly inside the crop area.
Do not stretch the face to force the image into a new ratio. Cropping preserves the natural proportions of the photograph.
7. Position the Face Carefully
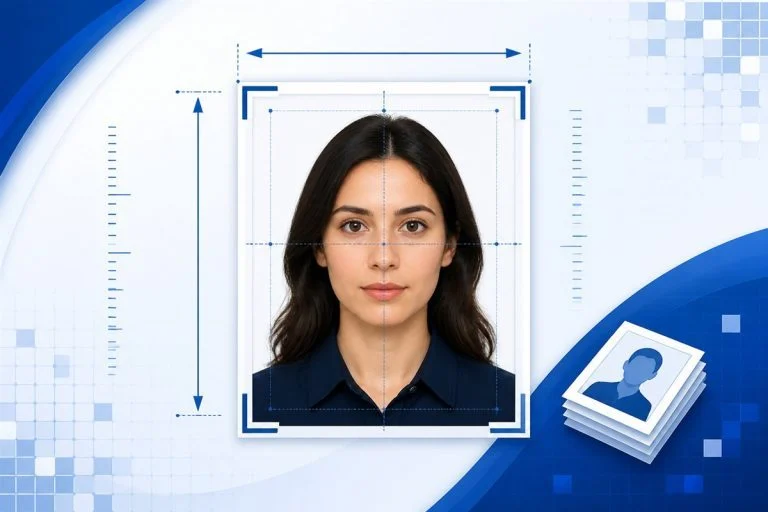
Use the crop area to position the head and shoulders according to the instructions for your application.
The current tool provides an optional visual positioning guide.
You can use it to help with:
- centring
- general eye position
- keeping the head within the crop area
The guide is not a biometric compliance checker.
It does not automatically detect the face, measure official head height or guarantee that the image will be accepted.
Always compare the finished crop with the requirements published by the authority you are applying to.
8. Zoom and Move the Image
Use the Zoom control when the face appears too small or too large within the frame.
You can also drag the image to reposition it.
A useful approach is:
- set the required dimensions first
- zoom until the head is appropriately sized
- drag the image to centre it
- check the top and bottom margins
- review the entire crop before creating the output
Avoid zooming so far that the final image becomes visibly soft or pixelated.
9. Rotate the Photo if Necessary
If the original image is slightly tilted or stored in the wrong orientation, use:
- Rotate left
- Rotate right
The current tool rotates in 90-degree steps.
Use Reset if you want to return to the original crop and zoom settings.
For an official identity photograph, it is usually better to start with a correctly aligned portrait than to rely on heavy editing.
10. Check the Background
Background rules vary.
Some applications ask for:
- white
- off-white
- light-coloured
- plain
- another specific background
Do not assume that white is correct for every document.
The current version of the Passport Size Photo Maker does not automatically remove or replace the background.
If your photo already has an unsuitable background, prepare a better source image before using the final result.
See the Passport Photo Background Guide for more detail.
11. Choose JPG or PNG
The current tool can create:
- JPG / JPEG
- PNG
Choose JPG When
JPG is usually more suitable when you need:
- a smaller file
- adjustable quality
- a maximum KB target
Choose PNG When
Use PNG when the application specifically requests PNG or when you need lossless image encoding.
Always follow the file-format requirement of the form you are completing.
12. Compress the Photo if a KB Limit Applies
Online applications sometimes specify a maximum file size.
Examples can include:
- under 100 KB
- under 50 KB
- under 30 KB
- under 20 KB
- another custom limit
For JPG output, the tool can try to keep the image below the selected maximum by adjusting JPEG quality.
It does not silently change the chosen pixel dimensions to hit the file-size target.
If the requested KB size cannot be reached within the tool’s supported quality range, you will see a warning.
Use compression only when the application requires it. Excessive compression can reduce visible image quality.
13. Preview the Finished Photo
Before downloading, check:
- pixel dimensions
- physical size setting
- aspect ratio
- face position
- rotation
- background
- output format
- file size
The result section shows the generated dimensions and approximate file size.
If something looks wrong, select Adjust Photo and make changes before downloading.
14. Download the Photo
When you are satisfied with the preview, select Download Photo.
The finished image is saved to your device using the dimensions and format you selected.
Before uploading it to an application portal, compare the final file with the official requirements one more time.
How to Make a Passport Size Photo on a Mobile Phone
You can use the same process on a smartphone.
Step 1: Take a Good Portrait
Use the rear or front camera in good lighting.
Keep the camera around eye level and avoid extreme angles.
Step 2: Open the Photo Maker in Your Mobile Browser
Go to the Passport Size Photo Maker.
Step 3: Choose the Photo
Tap Choose Photo and select the image from your phone.
Depending on the browser and device, you may be able to choose from:
- camera
- gallery
- files
Step 4: Select the Required Size
Use a preset or enter custom dimensions.
Step 5: Drag and Zoom
Use touch controls to position the image inside the crop frame.
Step 6: Create and Download
Choose JPG or PNG, apply a KB target if needed and download the finished photo.
You do not need desktop photo-editing software for this workflow.
How to Make a Passport Size Photo from a Normal Photo
A normal portrait can work if it gives you enough usable image area.
The process is:
Normal photo → select required dimensions → crop → position → resize → compress if needed → download
The original photograph does not need to already have the final passport dimensions.
The important question is whether the source image is clear enough and suitable for the application.
How to Make a 35 × 45 MM Passport Size Photo
If your application specifically requires 35 × 45 mm:
- open the Passport Size Photo Maker
- choose Common 35 × 45 mm
- keep or change the DPI according to your requirement
- upload the photo
- crop and position the subject
- choose JPG or PNG
- add a KB limit if required
- create and download the photo
At 300 DPI, the output is approximately:
413 × 531 pixels
The aspect ratio is:
7:9
Only use this preset when 35 × 45 mm is actually the required format.
How to Make a 2 × 2 Inch Passport Photo
If the application asks for exactly 2 × 2 inches:
- choose Custom size
- select Inches (in)
- enter:
- Width: 2
- Height: 2
- select the required DPI
- crop the image to the square frame
- create the photo
At 300 DPI:
2 × 2 inches = 600 × 600 pixels
The ratio is:
1:1
The tool also includes a 51 × 51 mm square preset, but remember that 51 mm is approximately 2.01 inches rather than exactly 2 inches.
How to Make a Passport Size Photo Under 50 KB
If a form requires a JPG below 50 KB:
- set the correct photo dimensions first
- choose JPG / JPEG
- select Under 50 KB
- create the photo
- check the displayed output file size
The tool tries to reduce JPEG quality while preserving the chosen dimensions.
A very large image may not be able to reach an extremely small KB target without excessive quality loss.
If the tool warns that the target cannot be reached, check whether your application allows smaller pixel dimensions or a larger maximum file size before changing anything.
How to Make a Passport Size Photo in Pixels
If the application gives exact digital dimensions:
- choose Custom size
- set the unit to Pixels (px)
- enter the required width
- enter the required height
- crop and create the image
For example, if the form explicitly asks for:
413 × 531 px
enter those values directly.
When you work in pixels, there is no need to convert from mm using DPI first.
Do You Need Photoshop to Make a Passport Size Photo?
No.
For basic tasks such as:
- cropping
- resizing
- changing dimensions
- converting to JPG or PNG
- reducing JPG file size
you can use a browser-based photo maker.
Desktop software can be useful for more advanced editing, but it is not required for the basic workflow.
Can You Make a Passport Photo at Home?
You can take and prepare a photo at home, but whether it is suitable depends on the rules for your specific document.
You still need to follow requirements concerning:
- lighting
- background
- facial expression
- head position
- image dimensions
- image quality
- clothing or accessories where applicable
The photo maker helps with the digital crop, dimensions and file output. It does not certify the photograph against every official biometric rule.
Common Mistakes to Avoid
Using the Wrong Size
Do not choose a common preset without checking your form.
Cropping Too Tightly
Leave enough room to position the head properly according to the application rules.
Using a Blurry Original
Resizing does not restore lost image detail.
Stretching the Face
Crop to the required aspect ratio instead of distorting the photograph.
Ignoring the Background
A technically correct image size can still fail if the background does not meet the requirement.
Compressing Too Much
Only use a small KB target when the application requires it.
Assuming the Tool Guarantees Acceptance
PassportSizePhoto.org prepares the digital image. The issuing authority decides whether the photograph meets its requirements.
What Should You Check Before Submitting?
Use this checklist:
- correct width
- correct height
- correct unit or pixel size
- correct file format
- correct KB range
- acceptable background
- face positioned correctly
- image sharp enough
- no accidental stretching
- current official requirements checked
If you need help with measurements, see the Passport Size Photo Size Guide.
If you need help with the background, see Passport Photo Background.
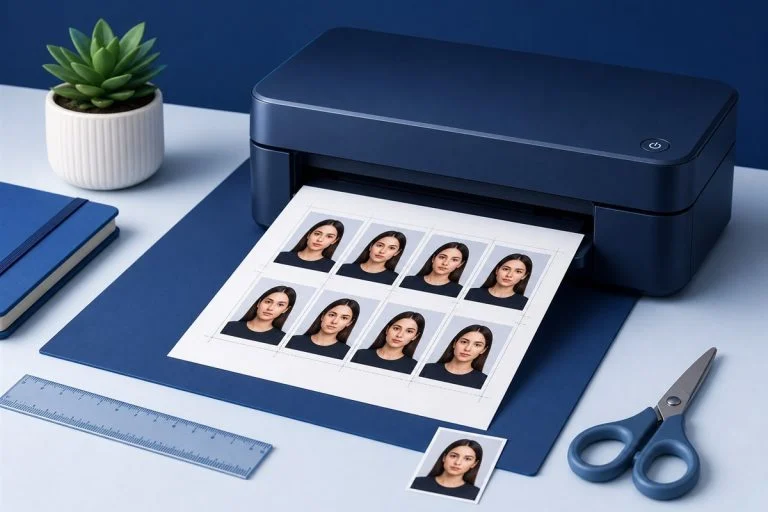
If you need a printed copy, see How to Print Passport Size Photos.
Common Questions About Making Passport Size Photos
How Can I Make a Passport Size Photo Online for Free?
Use the Passport Size Photo Maker, upload your image, choose the required dimensions, crop it and download the result.
The current tool is free to use and does not require an account.
Can I Make a Passport Size Photo on My Phone?
Yes. The tool works in a mobile browser and supports photo selection, touch positioning, zoom, output settings and download.
Can I Convert a Normal Photo to Passport Size?
Yes, provided the original image is suitable and clear enough to crop.
Can I Make Passport Size Photo in CM?
Yes. Choose Centimetres (cm) and enter the required width and height.
Can I Make Passport Size Photo in MM?
Yes. Choose Millimetres (mm) and enter the exact dimensions.
Can I Make Passport Size Photo in Pixels?
Yes. Choose Pixels (px) and enter the required width and height directly.
Can I Make a Passport Size Photo Under 20 KB?
For JPG output, the current tool includes an Under 20 KB target.
Whether that target can be achieved depends on the selected pixel dimensions and the image itself.
Can I Change the Background?
The current V1 tool does not automatically remove or replace the photo background.
Does the Tool Automatically Check Passport Rules?
No.
It does not identify your country, verify a government document or certify biometric compliance.
Is 35 × 45 MM Always the Correct Passport Size?
No.
35 × 45 mm is common, but requirements vary by country and application.
Create Your Passport Size Photo
Once you know the correct requirements, open the Passport Size Photo Maker and prepare the image.
For related guidance:
- Passport Size Photo Size — dimensions, pixels, ratio and DPI
- Passport Photo Background — background preparation and common requirements
- How to Print Passport Size Photos — printing without accidental scaling
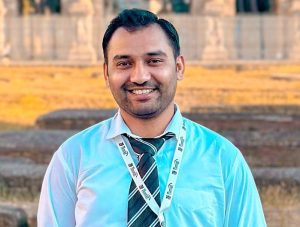
AUTHOR & WEBSITE OWNER
Written by Muzammal Amin
Muzammal Amin is a PhD student in Physics at the University of Turin with core expertise in mathematics and physics. He develops and reviews the website’s measurement guidance and browser-based photo utility.
Passport Size Photo
An independent online photo utility to create passport-size photos quickly, privately and easily in your browser.
© PassportSizePhoto.org
Independent online photo utility.
Not affiliated with any government authority.